
User Personas: Admin
Cost Codes are used to break down a project's expenses into different activities and cost categories. Using cost codes effectively can enhance the job cost reporting details on your projects so that your organization can become more cost-efficient when budgeting jobs.
Every organization has a standard list of company Cost Codes that are managed by administrators under Company Settings. Each project also has its own Cost Codes list that is comprised of the same Cost Codes in the company list. For flexibility, the project-level Cost Codes may be modified and renamed as needed on a per-project basis by a project manager under Settings. Changes made to Cost Codes at the project level do not affect the company Cost Codes list.
To perform the actions described in this article, a user must have the Company - Cost Codes - General Permissions and Change Status permissions.
Use the links below to quickly jump to a topic:
- View and Manage Company Cost Codes
- Import Cost Codes
- Create Cost Code
- Edit Cost Code
- Delete Cost Code
- Assign Cost Code to Projects
- Change Cost Code Status
- View and Manage Project Cost Codes
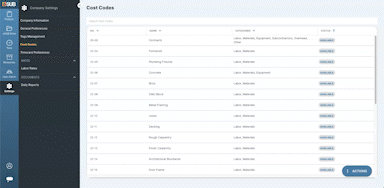
View and Manage Company Cost Codes
- Select Settings on the global navigation menu, then select Cost Codes from the slide out menu
Import Cost Codes
From the Cost Codes list:
- Select Import Cost Codes on the action button
- Download the file template and fill it out with your company Cost Codes
- Number and Name fields are required for each Cost Code
- For all other fields, indicate Y for Yes or N for No (or leave the cell blank to indicate No)
- Cost code numbers must be unique and duplicates will not be imported
- Cost code number and name fields are alphanumeric and are limited to 50 characters
- Special characters are not allowed, except for periods ( . ) and hyphens ( - )
- If you are using Excel to fill in the template and you would like leading zeros, format the column as Text
- Cost codes must have at least one category enabled
- Cost codes can either be Labor or Overhead Labor category, but not both
- Select Choose File and upload the completed file template
- Make changes to Cost Codes using the inline fields if desired
- Select Save when finished
Create Cost Code
From the Cost Codes list:
- Select Add Cost Code on the action button
- Enter a unique No. and Name for the Cost Code, and select at least one category
- Assign the Cost Code to projects as desired
- Select Save when finished
| Example of adding a Cost Code |
 |
Edit Cost Code
From the Cost Codes list:
- Select the Cost Code to view it, then select Edit
- Make changes as desired, then select Save
 |
The cost code number cannot be changed, but its description and categories can. If there is an issue with the cost code number, try deleting or inactivating the cost code and create a new one. |
Delete Cost Code
Cost codes that have been added to projects cannot be deleted.
From the Cost Codes list:
- Select the Cost Code to view it, then select Delete
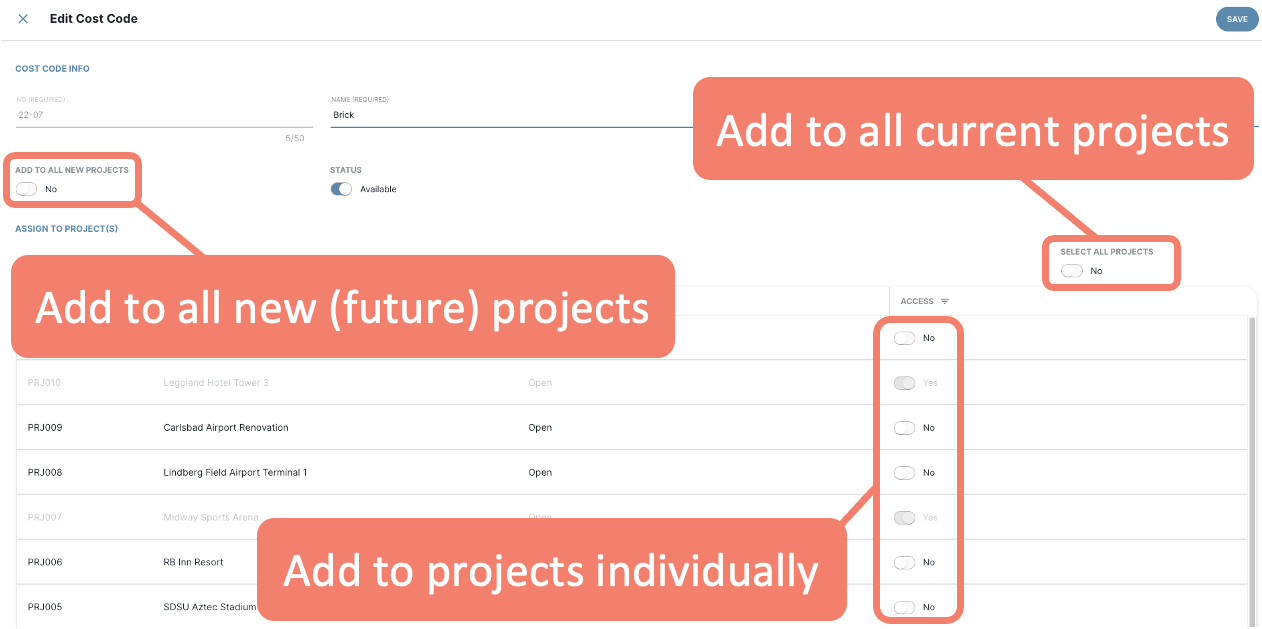
Assign Cost Code to Projects
From the Cost Codes list:
- Select the Cost Code to view it, then select Edit
- Auto-assign Cost Code to future projects - Toggle the Add to All New Projects button to Yes
- Assign Cost Code to all existing projects - Toggle the Select All Projects button to Yes
- Assign Cost Code to projects as needed - Use the toggle buttons under the Access column to add or remove the Cost Code from the projects on the list
- Select Save when finished
|
Example of the different ways to assign a Cost Code to projects |
 |
Change Cost Code Status
See the Available and Unavailable Statuses article for more guidance.
From the Cost Codes list:
- Select the Cost Code to view it, then select Edit
- Toggle the Status field to Available or Unavailable as needed
|
Making a Cost Code Unavailable will only impact your ability to assign the Cost Code to projects moving forward. Unavailable Cost Codes that were already assigned to or used on a project will still be available to the project. |
View and Manage Project Cost Codes
A project's Cost Codes list can be managed under Project Settings. See the Project Settings article for more guidance.
Comments
0 comments
Please sign in to leave a comment.